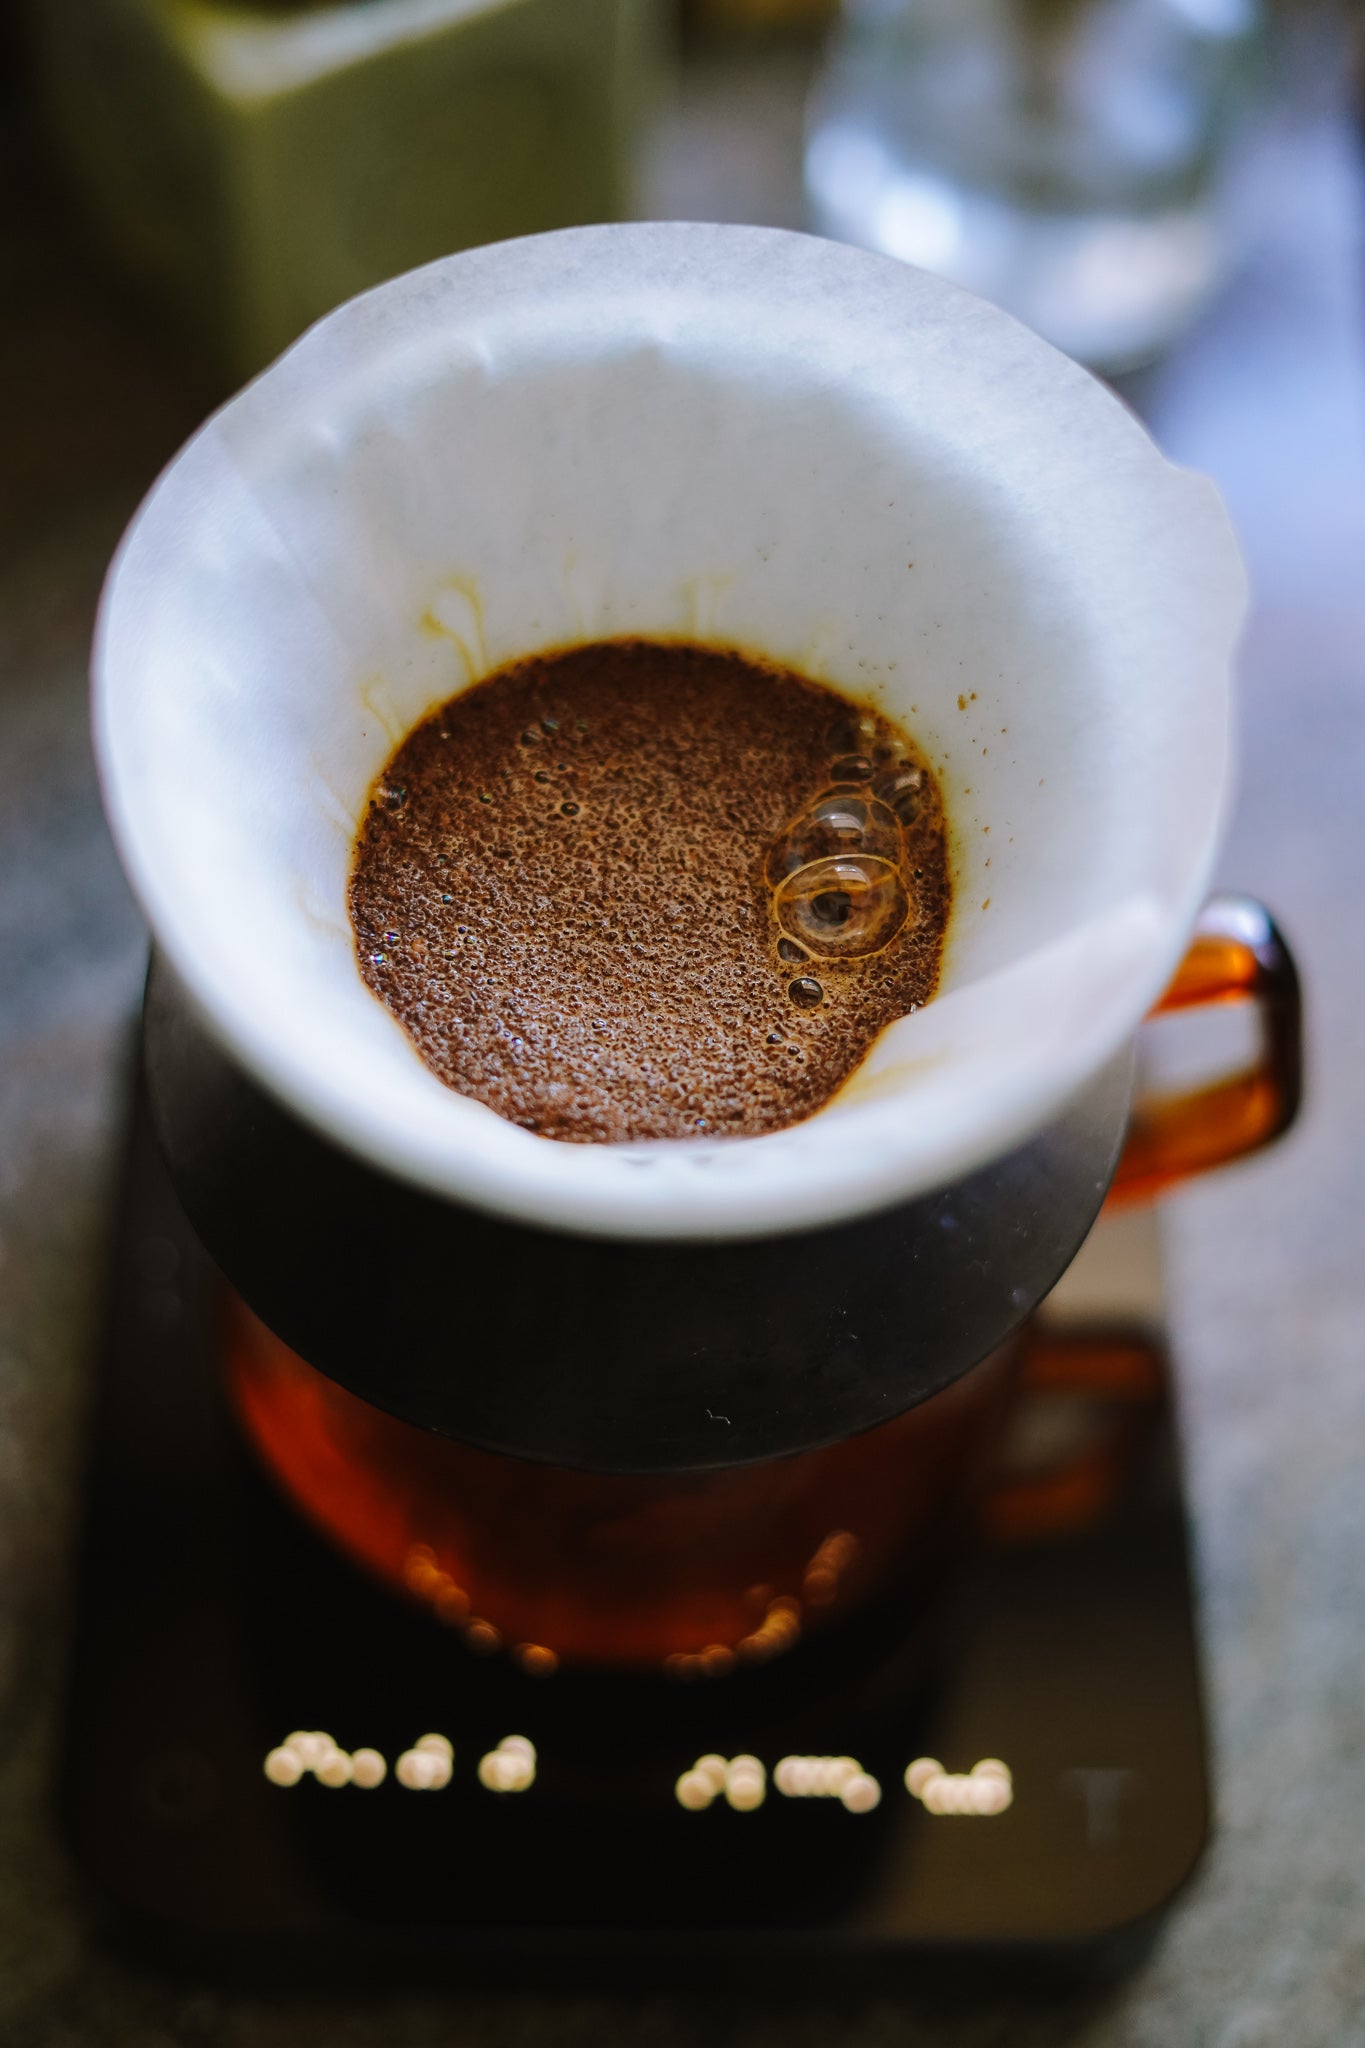
We love a good pour over! Over the years we have had the opportunity to brew and serve you many pour overs. Whether it’s been on Kalita or V60, hand poured or automatic, I think it's safe to say that we thoroughly enjoy this brew method. The internet has an abundance of recipes, tips, and techniques for perfecting your pour over game, but where do you start? We are firm believers that brewing can be as complicated or as UNcomplicated as you want it to be and we are huge fans of experimenting with brewing and testing out the newest devices, but for now, let’s start at the ground and work our way up!
Let’s talk equipment! We know that brewing at home can mean quite the investment in gear to get you going, but here is our list of what we think you definitely need to brew a pour over at home:
What you need:
- Scale
- Grinder (or ground beans)
- Kettle (preferably a gooseneck, but it doesn't have to be!)
- Brewer (any pour over brewer!)
- Bleached paper filters
- Server (or large mug or vessel to hold the brewed coffee)
- Spoon

This recipe is one that we have based most of our recipes on in the cafe since day one. It is a super approachable recipe for beginners and a really great foundation for experienced brewers to experiment with!
The recipe:
Brew ratio // 1:16
Grind size // medium-coarse
Dose // 21 grams
Water weight // 340 grams

Method:
Before getting started, pre-heat your kettle to 200 degrees F or set to boil on a non variable temperature kettle. Place your paper filter inside of your brewer and give your filter a really good rinse. This is important as it will rinse away any papery taste that you would otherwise get in your brew if you skip this step. Rinsing your paper filter will also snugly secure it to the sides of your brewer which is an added bonus :) After your paper filter is rinsed and your kettle is up to the proper temperature you are ready to start! Note that if you are not using a gooseneck kettle for this, you will have to practice pouring with a controlled pace making sure that your stream is not to heavy.
- Set your brewer on top of your server and place both on top of your scale
- Add your ground coffee into the bottom of the filter and then tare your scale
- Shake the grounds lightly to even out the bed
- With the back of a spoon, make a an indentation in the center of your bed. This step is to ensure that once you start your pours the water will be able to evenly saturate your grounds from all directions

(divot ^^)
- Start your timer and start your bloom.* To do this, immediately and quickly start pouring in the center (where you created your divot) and then work your way to the outer edge, for a total of 50 grams of water.
- Let bloom for 30 seconds
- Once your timer hits 30 seconds, you can start your second pour
- Start your second pour the same way you started the first, in the middle and work your way to the outer edge. This pour will be 200 grams, bringing your brew now to 250 grams total.
- Wait for this to almost completely draw down, and finish with your last pour of 90 grams, bringing your total brew weight now to 340 grams.
- Wait for everything to finish drawing down and your brew is done! Your final brew time should be somewhere between 3-4 minutes depending on the coffee, how quickly you completed each pour, and the size of your grind.
*One of the by-products of roasting coffee is the development of gas inside the roasted coffee bean. This gas gets trapped inside of the bean and will naturally release over time as coffee ages. This also happens when water hits the grounds and you can visibly see bubbles form on the surface of the coffee bed. When we brew, we want to release this gas from the ground coffee to make room for water to promote more even extraction. Ideally, you wouldn't start your brew until the coffee is finished producing these gas bubbles or until about 30 seconds after the water hits the grinds, whichever is longer. This is called the "Bloom"!

We really love this recipe and think that it is a very good and dependable method! We hope that you try it out love it just as much as we do!

If you have any other questions about this recipe or brewing in general, send us a text at 1(877)333-1169 to speak to someone on our team!
Enjoy!

Share:
Chill out this summer with some icy drinks at home!
Surviving the Summer Heat - Iced Aeropress Recipe! ft Mahiga AA